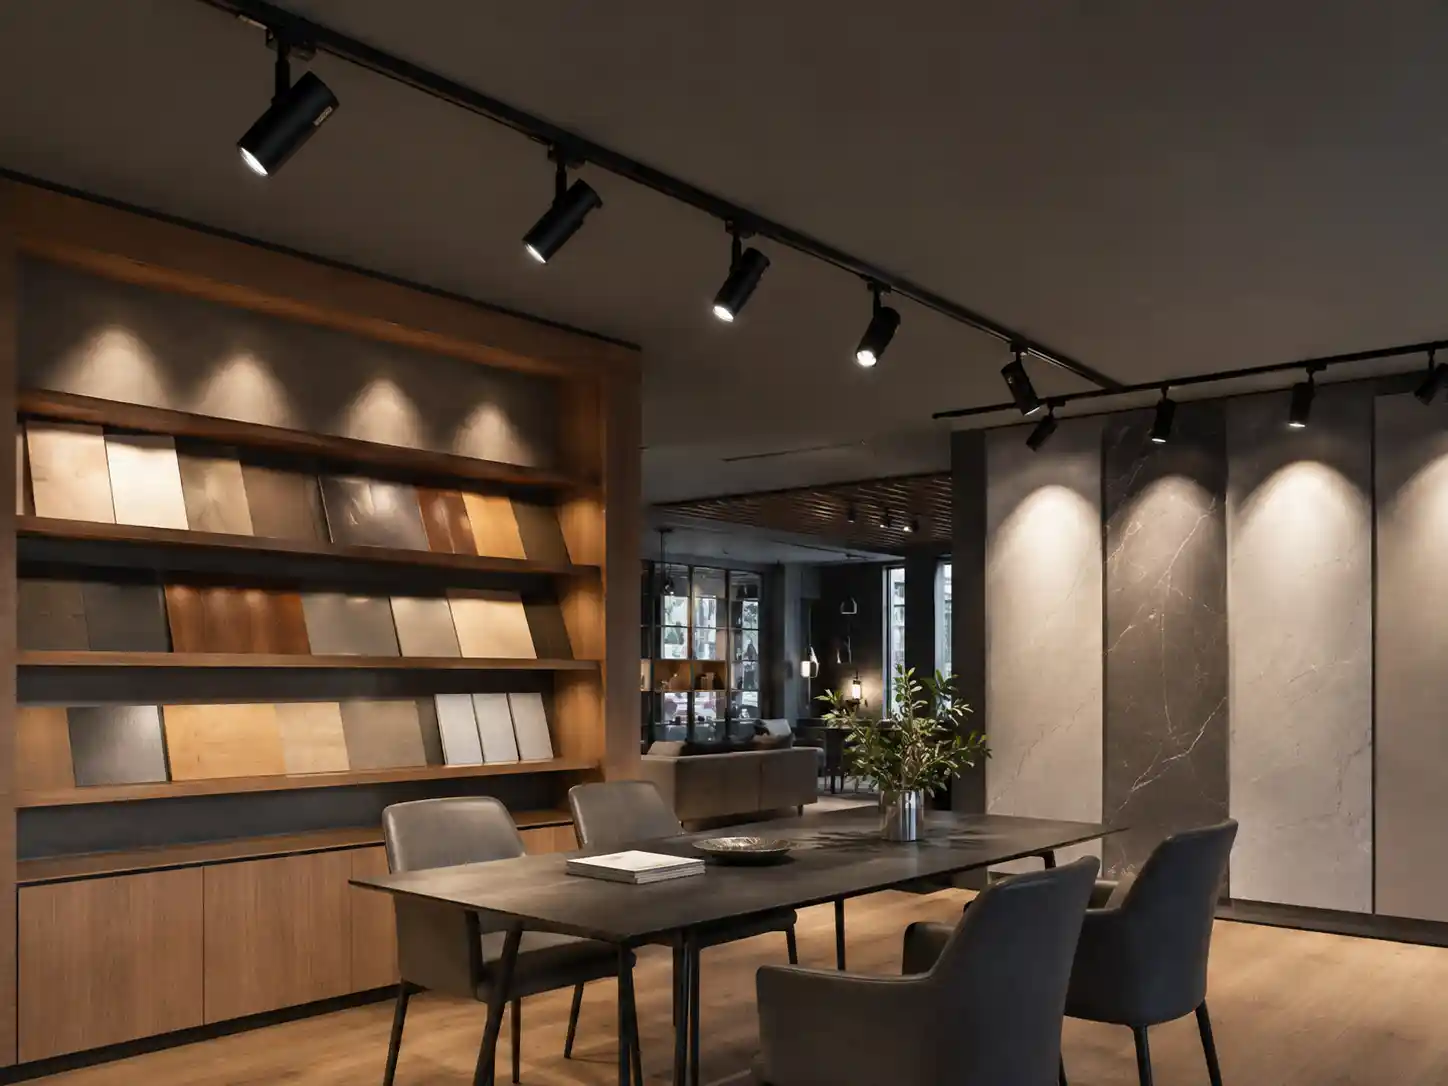
01A showroom is a place to make decisions
Showroom track lighting should do more than attract the first glance. Buyers may compare materials, open a product, inspect a finish and discuss options with a salesperson. The light needs to support that sequence. Begin by mapping the product groups and the places where comparison happens. A dramatic feature can introduce a range, but the quieter inspection zone must still allow a useful view of its details.
Decide whether products are being shown as individual objects or as part of a room setting. A furniture grouping needs a different visual relationship from a wall of finish samples. In a staged setting, the surrounding surfaces contribute to the impression of the product. For side-by-side comparison, excessive variation in lighting direction can make similar materials appear more different than they are. Keep the purpose of each zone explicit.
A permanent showroom also changes at a different pace from a short exhibition. Displays may evolve within established product areas, and staff may make small adjustments between appointments. Mark the likely range of movement on the plan. A rail should offer useful aiming positions for that change while remaining coherent in the ceiling. Flexibility is more valuable when staff can understand what to adjust and why.
02Give materials a useful account
Textured products benefit from a direction that reveals surface relief, but a strong shadow can conceal shape or colour. Try the light on the actual material at its intended orientation. A sample viewed flat on a table may behave differently from the same finish installed vertically. Include both where the showroom is meant to demonstrate them, rather than relying on a single approving glance at a small swatch.
Glossy finishes can turn the fixture into part of the reflection. Walk around a representative product and watch where bright patches travel. A source that gives a convincing highlight from one position may obscure detail from the main customer route. Adjust the geometry before increasing output. The useful judgement is whether people can inspect the product comfortably from the positions the showroom invites them to occupy.
Colour comparison needs a consistent setting. Request model-specific colour information and assess related samples together under the intended light. Where daylight reaches only part of the showroom, consider how it changes the relationship between display zones. Avoid approving one product group in strong daylight and another under electric light alone without reviewing the combined impression during normal opening conditions.
03Separate display from conversation
Consultation tables and sample counters should be planned as working surfaces. Buyers may read a quotation, compare small samples or use a screen. A ceiling accent aimed at a nearby product can create glare on those tasks. Mark the seated eye position and the screen orientation on the plan. A separate task-oriented source may support the conversation more comfortably than another dramatic spotlight.
Faces and product demonstrations need attention too. If a salesperson stands between the source and the sample, their shadow may cover the detail being discussed. Trial a normal demonstration with people in position. This is particularly useful for movable samples, doors, handles or articulated products. The empty showroom cannot reveal every problem that appears once a customer and salesperson begin using it together.
Operating groups can support different presentation routines. A showroom may need a general browsing scene, focused product demonstrations and a brighter preparation setting. Describe the activities before choosing controls. Ask for compatible heads, drivers and control equipment where dimming is proposed, and test the selected combination at the settings intended for actual appointments. A scene should be easy to call up and easy to restore.
04Coordinate the display system above and below
Tall products, banners and hanging signs can interrupt beams from track heads. Include them in the ceiling coordination drawing. Check access for aiming and maintenance once the displays are installed. A head positioned over a fixed large product may be hard to reach later, even if it was simple to install in the empty room. Safe access belongs in the layout discussion before the final rail positions are approved.
Confirm electrical and mechanical compatibility within the proposed system. Identify rail wire count, voltage, adapter arrangement, feeds and connection pieces. With retained equipment, collect markings and technical documents and have an electrician assess the installation. A showroom that adds products in stages benefits from a clear component record so later changes do not become a mixture of visually similar but incompatible parts.
For an enquiry, send the showroom plan, display heights, representative materials and photographs of the consultation positions. Explain how often products change and whether demonstrations require distinct light settings. Compare exhibition hall planning if temporary layouts are also involved. Use the commercial lighting brief to organise the purchasing questions, and request a trial where surface appearance will influence a buyer's decision.
For samples that customers remove from a display, include the place where they put them down. A finish approved vertically on the wall can look different on a horizontal consultation table. Compare those two moments before deciding the display and discussion areas need identical fixtures.
For changing sample installations, compare the different planning horizons in showroom versus exhibition lighting.