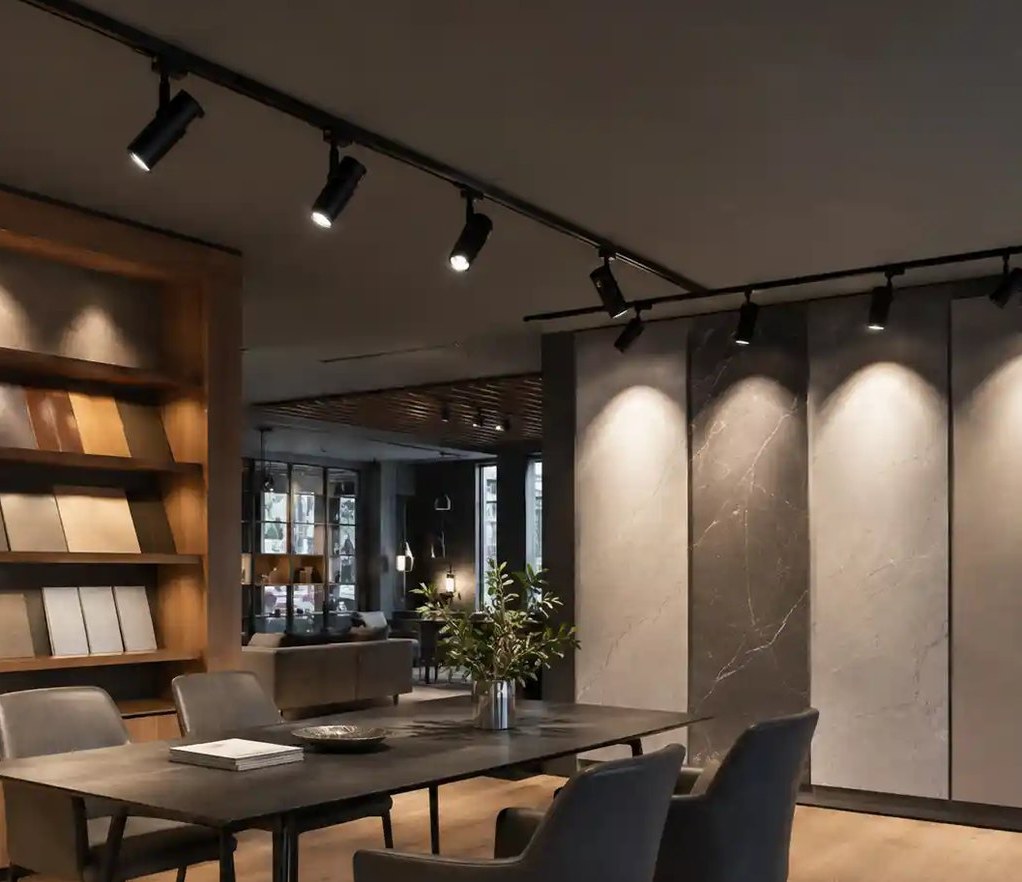
The order matters more than the speed. Most expensive changes on a lighting project happen because a hardware decision was made before the room judgement it depended on. Each step below has a short list of what to send us and what to confirm before moving on.
Brief
Describe the rooms, what each has to achieve, opening hours, ceiling type and height, and any brand or design guidelines. A rough floor plan is enough to start.
- Send
- Floor plans, ceiling details, and photos of the existing space for a refurbishment.
- Confirm
- Who approves samples, and who signs off the final schedule.
Room judgements
Agree, room by room, what the light has to do: which surfaces lead, what stays quiet, which zones need their own scenes. The retail, restaurant and gallery essays are a good starting point for that conversation.
- Send
- Merchandising plans, seating plans or hanging plans.
- Confirm
- Zones and scenes, in writing, before any hardware is chosen.
System choice
Choose conventional rail, magnetic or downlight fill for each zone, based on how often the layout changes and how the ceiling should read.
- Send
- Ceiling sections and any mounting constraints.
- Confirm
- Which rail wire system and supply voltage? Then, as a separate question, which grouping or dimming arrangement each zone needs; that is confirmed per system, not assumed from the wire count.
Layout
Place track runs relative to what they light, not to the ceiling grid, and list heads by zone. Keep complete lights and housings as separate lines.
- Send
- A reflected ceiling plan.
- Confirm
- Run lengths, connectors, feeds, suspension or recessed parts, and spares.
Aiming
After installation, heads are aimed against the real merchandise, tables or artwork. Plan time for this with the people who know the room best.
- Send
- Final furniture and display layouts.
- Confirm
- Who aims, and when, relative to opening day.
Snagging
Walk the room in each scene and note glare, hot spots, dark patches and failed heads.
- Send
- A snag list with photos.
- Confirm
- Replacements and the after-sales contact.
Why there are no figures on this page
This guide deliberately contains no output, beam, colour rendering or colour temperature figures. Those are per-model fields, confirmed on the spec sheet for the heads in your schedule. The same goes for certification: check the spec sheet for the exact model.
If you're at the start, read the room essay that matches your project: retail, restaurants or galleries. If the rooms are already decided, the systems overview covers the hardware choices.